Can You Build Muscle Using Just Gym Machines? (Yes — Here’s How)
Walk into almost any gym and you’ll find two tribes. The free-weight tribe, who view machines as a sort of training cheat code reserved for people who don’t know any better. And the machine tribe, who like exercises they can do without dropping a 25kg plate on their foot.
The free-weight tribe is louder. They also tend to be wrong about the central claim — that you need barbells and dumbbells to build a serious physique. The research is in: you can build muscle using gym machines just fine. End of debate.
Now, let’s talk about why.
The myth: “real lifters use free weights”
This idea comes from old-school bodybuilding culture, where compound barbell movements (squats, deadlifts, bench press, overhead press) were the foundation of every training plan. They still are, for good reason. They’re excellent exercises.
But the idea that they’re the only path to muscle is a cultural belief, not a physiological truth. Your muscles don’t know whether the resistance they’re working against is a barbell, a dumbbell, a cable, or a pin-loaded machine. They know whether they’re being challenged hard enough, often enough, to need to grow.
Provided that challenge is sufficient, the equipment is mostly irrelevant.
What the science actually shows
Multiple meta-analyses comparing machine-based and free-weight-based training have found that, when total training volume and effort are matched, the muscle growth between groups is statistically the same.
You read that right. Same.
The variables that actually matter for muscle growth are:
- Training close to muscular failure (the last few reps need to be hard)
- Enough total volume per muscle group across the week (roughly 10–20 working sets)
- Progressive overload over time (adding weight, reps, or sets)
- Enough protein in your food
- Enough sleep to recover
None of those variables specify free weights. Machines tick every one.
When machines are actually better than free weights
This is the part nobody on YouTube tells you. There are several scenarios where machines aren’t just “fine” — they’re objectively the better tool for the job.
1. When you’re new to training
Free weights demand stability and technique. Machines control the movement path for you, which means you can focus on muscle contraction rather than balance. Beginners build muscle faster on machines because they can train closer to failure without form falling apart.
2. When you’re training alone
No spotter? Pressing a heavy barbell to your chest without a way to bail safely is genuinely dangerous. A chest press machine has none of that risk. The bar physically can’t fall on you. You can push to failure with confidence.
3. When you want to isolate a specific muscle
Cable kickbacks for glutes. Leg curls for hamstrings. Lateral raises with a machine’s consistent resistance curve. These are not compromises — they’re tools designed to target one muscle without others taking over.
4. When you’re carrying an injury
Sore lower back? You’re probably not deadlifting this week. The leg press, leg curl, leg extension and seated calf raise let you keep training legs hard without loading the spine. That’s a feature, not a fallback.
5. When you’re training to failure
Going to true muscular failure on free weights is dangerous and often impractical — particularly on squats, deadlifts and overhead lifts. Machines let you push to failure repeatedly without the same risk. For hypertrophy, that’s a real advantage.
When free weights win
To be fair to the other tribe, free weights do have genuine advantages in specific scenarios:
- Heavy compound strength work — nothing beats a barbell squat or deadlift for raw maximum strength
- Sport-specific power — athletes training for performance benefit from free-weight movements that mimic real-world force production
- Core stabilisation as a byproduct — standing free-weight work demands trunk bracing in a way machines don’t
- Dumbbell work for unilateral training — spotting strength imbalances between sides
The honest position is that both are tools. The best programmes use both, picking each one for the job it does best. A machine-only programme can absolutely build a great physique. So can a free-weight-only programme. So can a combined programme.
A complete plan to build muscle using gym machines
If you want to give machine training a serious test for 3 months, here’s a plan that hits every major muscle group across two sessions a week. Repeat each session twice per week (so you’re in the gym four times).
Session A — Upper Body
- Chest press machine: 4 x 8–12
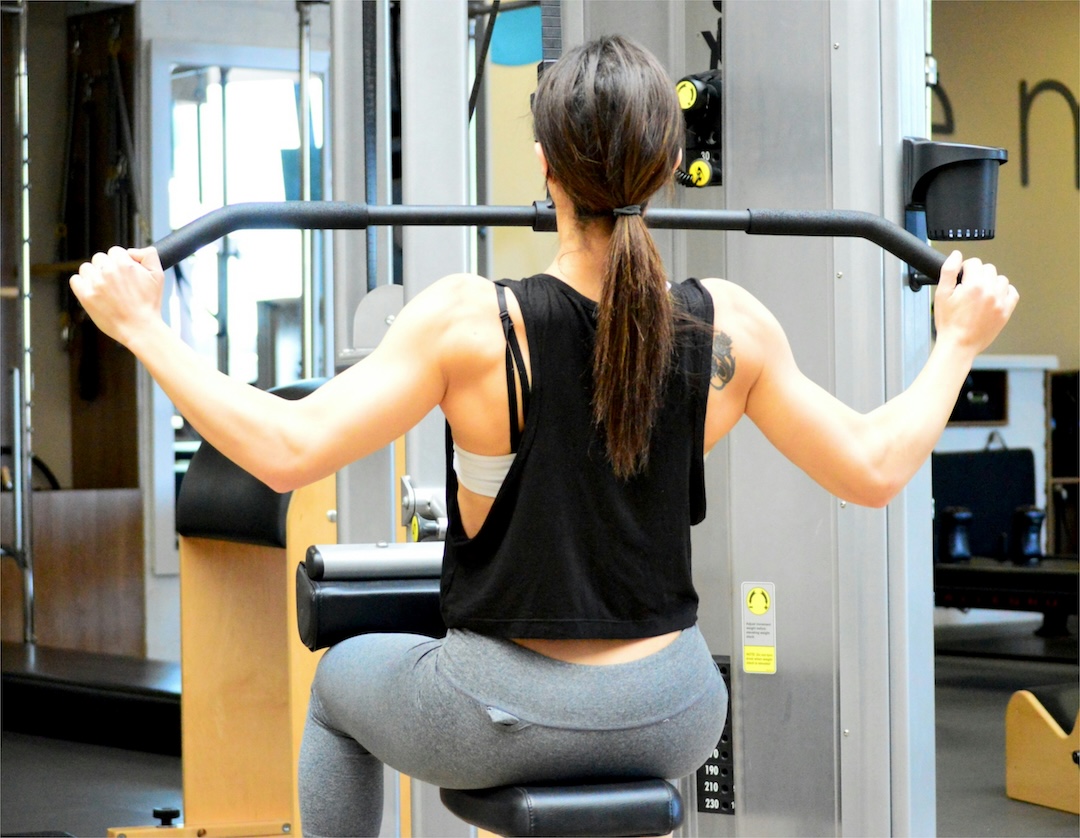
- Lat pulldown: 4 x 8–12
- Shoulder press machine: 3 x 8–12
- Seated row: 3 x 10–12
- Chest fly machine: 3 x 12–15
- Bicep machine: 3 x 10–12
- Cable tricep pressdown: 3 x 10–12
Session B — Lower Body + Core
- Leg press or Smith squat: 4 x 8–12
- Leg curl machine: 4 x 10–12
- Leg extension: 3 x 12–15
- Hip abductor: 3 x 12–15
- Cable kickback (each leg): 3 x 12
- Calf raise: 3 x 12–15
- Ab crunch machine: 3 x 12
All the equipment is in our Gym-Apedia with setup notes and muscle group breakdowns. The Upper-Body Shape & Posture and Lower-Body Strength & Conditioning sessions in our Workout Library are also machine-friendly versions of this template.
How to make progress on a machine plan
Same as on any plan:
- Track every set. Weight used, reps done. A note in your phone is fine.
- Aim to add a rep on at least one set each week, on at least one exercise
- When you can complete the full rep range on every set at a given weight, add the smallest available increment next session
- Push the last few reps hard. If the final rep was easy, the weight was too light. The set should feel challenging.
At Atlantis: the machines that work
Our Tiptree gym has a full strength machine setup — chest press, shoulder press, lat pulldown, seated row, leg press, leg curl, leg extension, hip abductor, ab crunch, bicep, plus a full cable system for endless variations.
If you’re building muscle and you stick to the eight or nine machines you actually need, you can train hard for an hour without ever picking up a barbell. Plenty of our most consistent members do exactly that. They look fantastic.
The honest conclusion
Can you build muscle using gym machines? Yes. Confidently, scientifically, demonstrably yes.
Should you also try free weights at some point? Probably yes — not because machines aren’t enough, but because variety in training is enjoyable, and barbell movements are satisfying once you’ve learned them.
But if machines are what you’re comfortable with, what fits your knees, what works around your shoulder injury, or what you actually enjoy doing — the muscle you build on them is just as real as the muscle anyone builds on a barbell.
Don’t let the free-weight tribe make you feel like a second-class lifter. The science is on your side. And so are we.
Want to try a full machine-based programme?
Atlantis has a complete strength machine setup in our Tiptree gym — chest press, shoulder press, lat pulldown, leg press, plus a full cable system. Our staff can walk you through every one and help you find the weights that suit where you are right now.
See Memberships